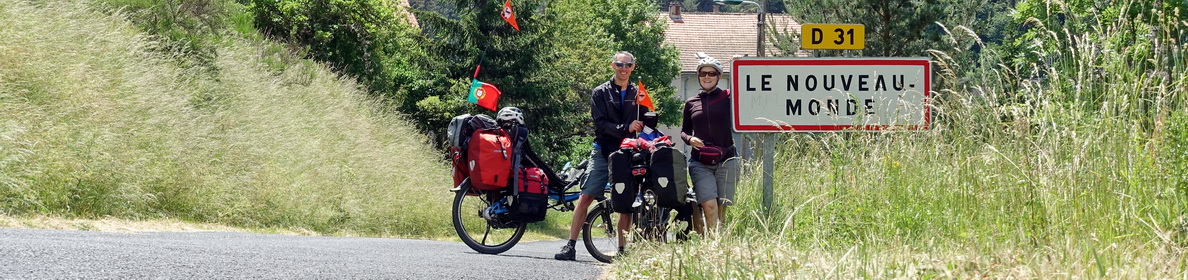
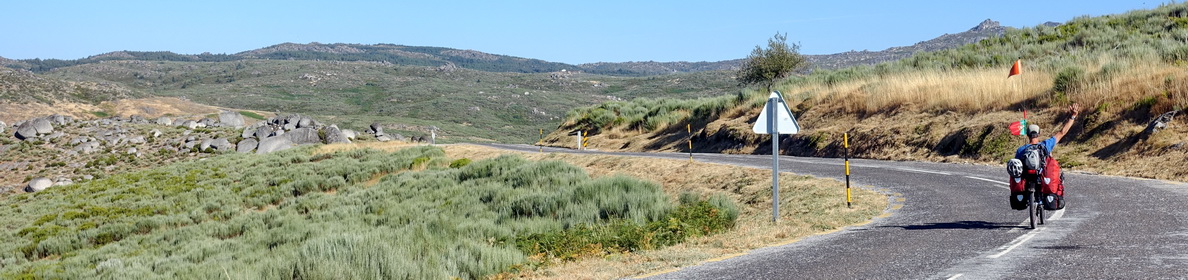


As some of you may know, we were already passionate about making our own bread. Back home, we hadn’t bought bread in a store for probably two years! We also had our sourdough, about 3 or 4 years old, who had become sturdy enough to survive even our 3-week holidays in the fridge. So we thought it would be a pity to throw it away, and it became the travelling sourdough!
And I’m proud to announce that after five weeks of travelling it is still alive and kicking! It needs to be fed every 24 hours and is not very happy under current temperatures (of up to 36°), at times becoming a bit “stinky”, but we have managed alright until now.
Before leaving I was thinking a lot about how to make bread on the road, and while I have made bread in proper ovens (when we stayed in someone’s place and/or had a kitchen to use) or on a stovetop in a frying pan (more like flatbread style), I hadn’t tested my original idea of baking bread on our gas stove until recently. So here is what I did, during one of our “days off” on a campsite in Spain.
I didn’t take any pictures of the dough making process, but basically I made the basic dough I usually make, estimating the quantities of flour and water with our camping cup and leaving it for a few hours to ferment. I think I put too much water as the dough was very soft, but this wasn’t really an issue as I used a mini-cake tin to make the bread, so no real shaping was necessary. I then put the cake tin inside a metal pan (one I bought in a second-hand store, I wouldn’t use our nice camping pans for this…) with a few stones on the bottom and a little bit of water, put it on the gas and covered it with a lid.

I kept the gas on about medium-low and waited…
After 15 minutes I lifted the lid and the dough had risen! Actually so much that it was touching the lid… (so next thing I need to get is a pot with higher walls…). So I exchanged the lid against one of our camping pots, which was too big but I somehow managed to have it stand on the rim of the windshield.

I left it like that for about 35 minutes while fiddling on my bike. I then turned off the gas and left the pot covered for another 10 minutes. When I took of the cover, that’s how it turned out:

Actually better than I thought. The top was a bit humid, probably due to the fact that it had been sticking to the cover for the first 15 minutes.
And a bit later without the cake tin:

And the bottom was not even burnt!

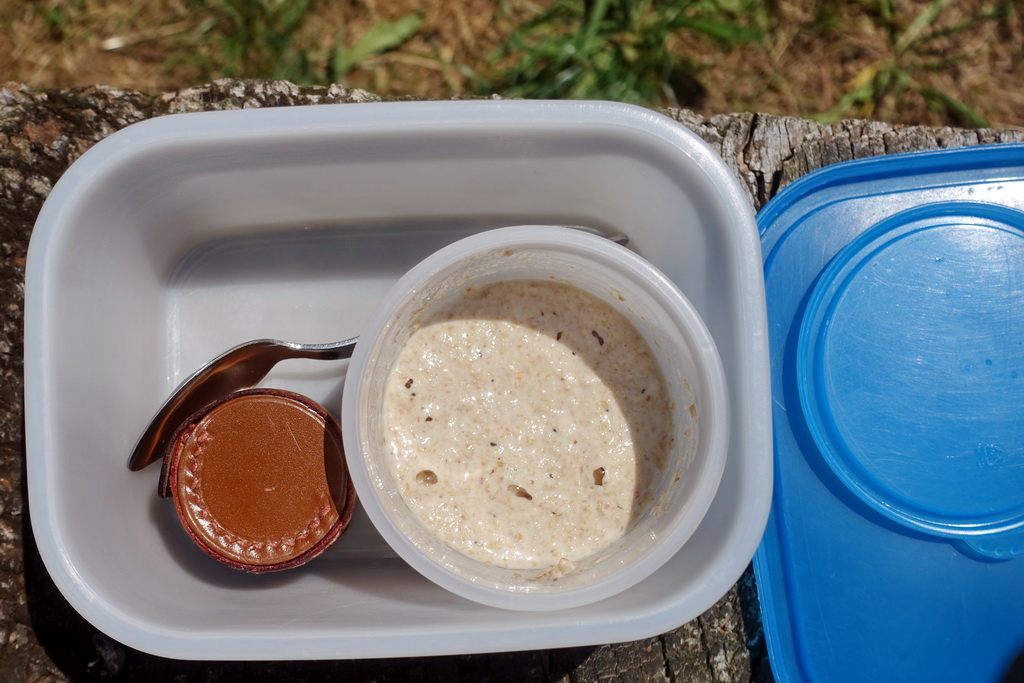
Later we cut it in half to see the inside:

All in all it looked like a very correct little bread, and it actually tasted very nice! So, in conclusion I’m very happy with this first experiment and will continue using this technique, although I will try to find a pot with higher walls and a more convenient lid.
Maybe I could even bake a cake like this?
Excellent! This is a real masterpiece!